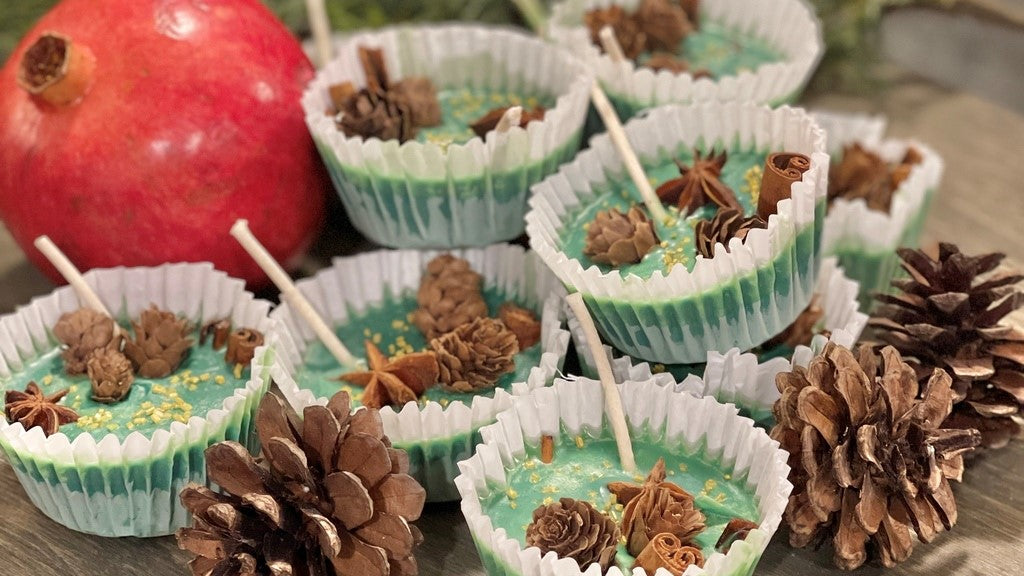
Make and gift these adorable firestarters this holiday season. Perfect host/hostess gifts or stocking stuffers! Super easy to make and use and you may have many of the supplies around the house already.
NOTE: for wood burning fireplaces or outdoors only. Do not use in wood burning stoves. Please read through all instructions carefully before starting.
There are links for products at the end if you want to purchase all new materials.
Supplies:
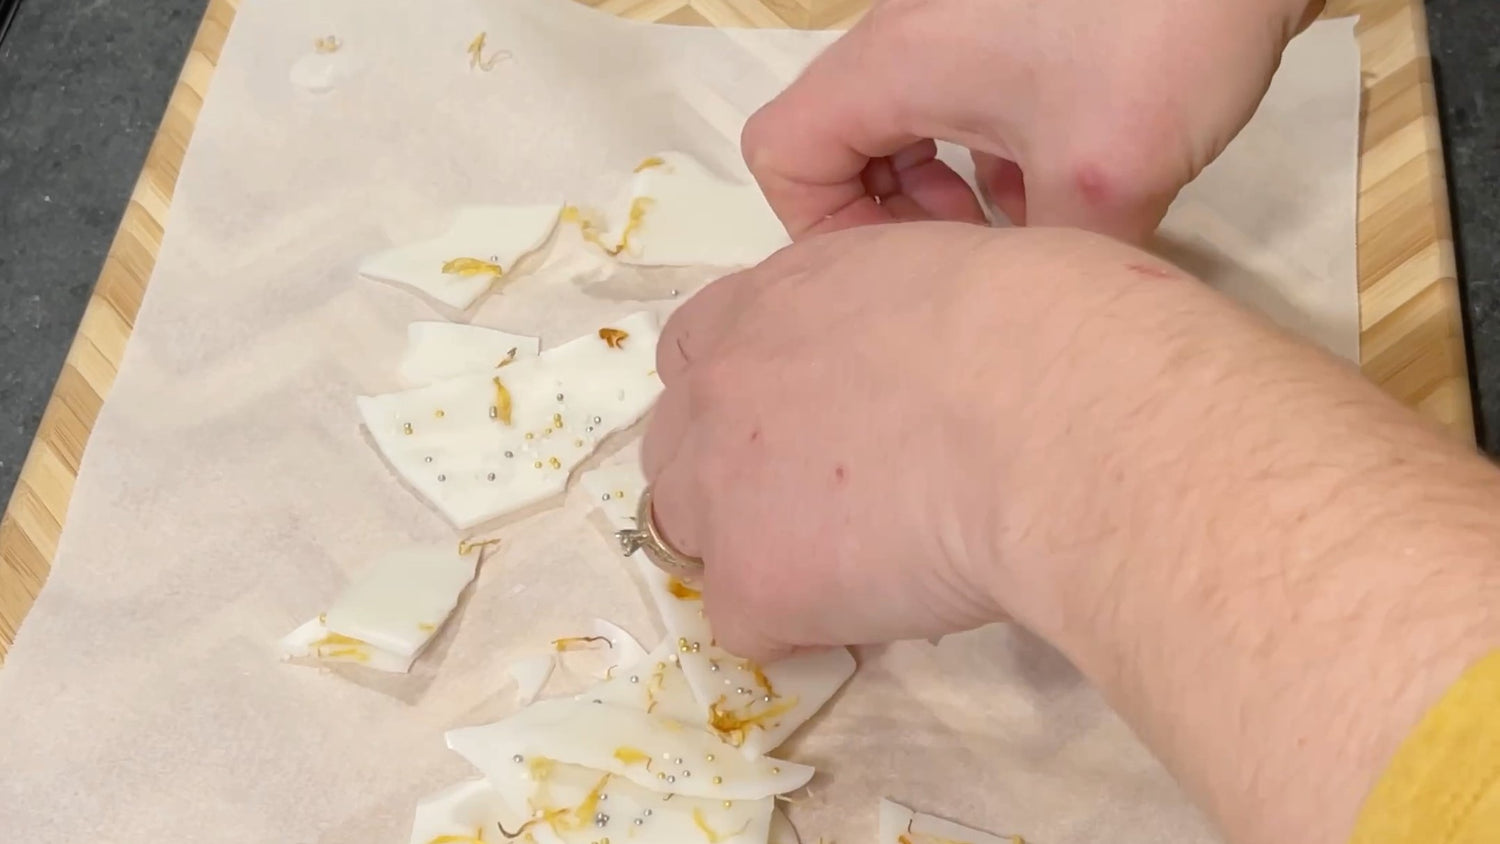
- Used candle wax from any of these sources: leftover wax from candles that are mostly burned, partially used tealights you no longer need, used or unused wax melts, those wonky candles that you can't use because they sat out in the sun too long, partially used tapers, etc.
- OR New soy or paraffin wax from a craft store or candle supplier
- Prewaxed candle wicks (see supply links below for a good option)
- Muffin pan
- Cupcake liners that fit your muffin pan
- Empty medium to large sized aluminum soup can (very clean and dry) or a candle pouring pitcher if you intend to make a lot of these will come in very handy.
- Pot for water large enough to hold your aluminum can to act as a double boiler (see tips below to create a simple double boiler set up)
- Fragrance oils (make sure they specifically state safe for candles) or essential oils if you're using new or unscented used wax, if desired. Woodsy, herbal scents work best for these.
- Cardboard or other covering to protect your work surface.
- Botanicals or decorations. Be sure to use untreated materials. Examples: dried flower petals, dried whole herbs, whole cloves, cinnamon sticks, star anise, dried citrus, small untreated pinecones, pine needles, small pine branches, rosemary sprigs, etc
Instructions:
1. Set up double boiler with a couple inches of water and add about 2 cups of wax (an estimate is fine)for 6-8 firestarters into the empty soup can or pouring pitcher. NEVER HEAT WAX OVER DIRECT HEAT!
2. Set up your work area by protecting the work surface if needed and place a cupcake liner in each cavity of the tin.
3. Place your natural elements and a 3" length of wick into each of the liners.
4. Melt the wax in your double boiler.
5. Remove from heat and add a 10-20 drops of fragrance or essential oil, if using, and a few drops of color or a tiny chip of solid wax color, if using. Add color small amounts at a time to achieve desired color. NOTE: cooled wax will be considerably lighter than melted wax if color is a consideration.
6. Stir well to incorporate the fragrance and color, if used.
7. Pour slowly into each liner.
8. Once they have partially cooled, add botanicals or decorations to tops. (TIP: if the wax cools too quickly for your extras to stay embedded, carefully use a heat gun, hair dryer, or embossing gun to reheat the wax slightly on top, just take care not to scorch the liners.)
9. If you're making multiple batches with different scents/ colors, clean the can well after each use or use a fresh one for each if possible
10. Allow to cool and package 'em up pretty! Mason jars, take out containers, treat bags with a cute label and some ribbon, just to name a few ideas!
IF YOU TRY THESE, TAKE A PHOTO, POST IT, and TAG ME! I'd love to see what you do!
*MAKING AN EASY DOUBLE BOILER: You can use almost any stovetop safe pot as long as it can hold at least a couple inches of water. Submerge a washcloth (one you can toss, because it'll likely get messy) or a silicone trivet. Just be sure that your aluminum can is able to sit inside the pot without tipping, add water and you're good to go.
Product lists to purchase. I can vouch for all these products for use as a hobby or craft project:
WAXES
Millennium Wax (Amazon)
100% Natural Soy Wax (Hobby Lobby)
WICKS
Prewaxed wicks (Amazon)
NICE TO HAVES
Pouring pitcher (Amazon)
Botanicals (Amazon)
Candle fragrances (Hobby Lobby)
Candle safe essential oils (Hobby Lobby)
Candle color blocks (Hobby Lobby)
Liquid candle dye (Michael's)


